Imagine an embroidery design that comes alive when the lights go down. A company logo that glows softly on a tradeshow lanyard, a spooky ghost that appears on a child’s Halloween costume, or a constellation that shines on a denim jacket after sunset. This isn’t magic; it’s the incredible effect of glow in the dark thread. But achieving that perfect, luminous spectacle requires more than just swapping out your standard thread spool. It demands a specialized approach to the digital design process, a craft known as glow in the dark embroidery digitizing.
Why Glow in the Dark Thread is a Different Beast
At first glance, glow in the dark thread might seem like just another colorful option in your thread cabinet. However, its unique properties present specific challenges that standard thread does not. This thread is typically thicker and less flexible due to the phosphorescent pigments that are embedded within the fibers. It has a different texture and can be more prone to friction and heat buildup in the needle. If you run a design digitized for standard rayon or polyester thread with glow in the dark thread, you’re likely to encounter frequent thread breaks, disappointing glow performance, and a design that feels stiff and bulky. The thread itself dictates the rules of the game, and your digitizing strategy must adapt to play by them.
The Digitizer's Blueprint: Designing for Luminosity
The core goal of using this special thread is, of course, the glow. A skilled digitizer approaches the design with this end result as their primary focus. Unlike standard embroidery, where color and texture are visible constantly, the success of a glow piece is measured in a darkened room. This shift in perspective changes everything.
The most effective glow designs are often simple, bold, and have clearly defined shapes. Intricate details with tiny, single stitches can get lost and fail to hold enough charged pigment to create a strong visual impact. A digitizer will focus on creating larger, solid areas that can absorb and emit more light. Think of the design elements that need to glow—are they the main outline, a filled-in shape, or specific accents? The digitizing plan is built around maximizing the surface area of these key elements to create a brighter, longer-lasting glow.
Stitch Selection and Density: The Foundation of a Great Glow
This is where the technical expertise of a digitizer truly shines. The choice of stitch type and its density is critical for working with glow in the dark thread.
Satin stitches, with their smooth, glossy surface, are excellent for creating defined borders and text that glows brightly. However, the digitizer must be cautious with the stitch length; stitches that are too long can be prone to snagging, and the thicker thread may not lay as flat as standard thread.
For filling larger areas, fill stitches are the go-to. The key here is to adjust the density. A common mistake is to use an overly dense fill pattern. Too many stitches packed tightly together can make the design rigid, increase the risk of thread breaks, and even distort the fabric without adding much benefit to the glow. A skilled digitizer will use a more open density, allowing the design to remain flexible while still providing ample thread coverage to absorb light. They understand that the thread’s thickness naturally provides more coverage than a standard thread, so the digitizing file can be slightly less dense to achieve the same visual effect in both light and dark.
The Critical Role of Underlay
If there’s one secret weapon in the digitizer’s arsenal for glow in the dark projects, it’s the strategic use of underlay. Underlay is the foundation of stitches that is laid down first and is essential for stabilizing the fabric and providing a base for the top stitches. For glow in the dark thread, its importance is magnified.
A well-planned underlay stitch helps to anchor the thicker top threads into the fabric, preventing the design from feeling overly stiff and reducing puckering. More importantly, a good underlay can actually enhance the glow. By creating a solid base, it raises the top stitches slightly away from the fabric. This allows more light to reach the phosphorescent pigments from all angles, resulting in a more efficient charging process and a brighter emission of light when the room goes dark. Neglecting the underlay is a surefire way to end up with a flat, dim result.
Testing and Refinement: Seeing in the Dark
No digitizing process is complete without testing, but for glow in the dark projects, this step is non-negotiable. A proficient digitizer will always run a test stitch-out on a scrap piece of the actual garment or fabric that will be used in the final product.
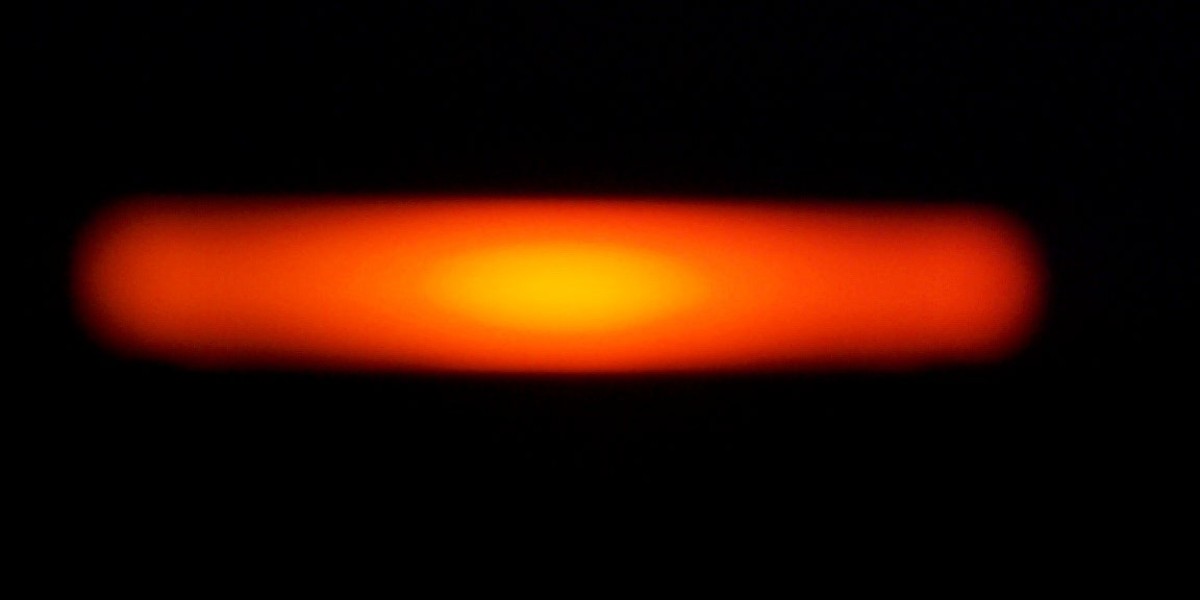
They will examine the test in normal light, checking for any registration issues, puckering, or thread breaks. Then, the real test begins: they will take the sample into a dark room after charging it with a light source. This is the only way to truly assess the effectiveness of the digitizing. Are the right elements glowing? Is the glow uniform across the design? Does it meet the brightness expectations? Based on this physical, in-the-dark review, the digitizer will return to the software to make fine-tuning adjustments to stitch angles, density, or underlay, perfecting the file for the ultimate luminous effect.
Conclusion
Glow in the dark embroidery opens up a world of creative and practical possibilities, transforming ordinary designs into interactive, after-dark experiences. However, its success hinges entirely on the digital blueprint. Simply changing the thread is not enough. It requires a thoughtful, specialized digitizing approach that respects the unique properties of the thread, prioritizes the glow effect in its structural planning, and rigorously tests in the environment where the design is meant to shine. By embracing the specific techniques of glow in the dark embroidery digitizing, you move from just stitching a design to engineering a light-catching marvel that captivates long after the sun goes down.